
How What Why
How to Make Embroidered Patches

Feb
Embroidery patches are a fantastic way to showcase creativity on fabrics like jackets, bags, or hats. You can make embroidered patches either by hand or by using an embroidery machine. Both methods can lead to stunning results, but each has its own unique process. Let’s break down the steps for both handmade and machine embroidered patches.
1. How to Make Embroidered Patches with an Embroidery Machine

Creating embroidered patches with an embroidery machine is the fastest and most efficient approach, especially if you plan to make a large number of patches. Here’s a step-by-step guide to get you started on how to make embroidered patches with machine:
Materials You’ll Need:
- Embroidery machine
- Embroidery software (for patch design)
- Embroidery thread
- Fabric (such as felt, denim, or canvas)
- Backing material (stabilizer or iron-on backing)
- Scissors (for trimming edges)
Steps to Follow:
- Design Your Patch:
Begin by designing your patch using embroidery software. You can either create a new design from scratch or import an existing image. If you’re unfamiliar with digitizing designs, there are online services that can help convert your artwork into machine-readable formats. - Prepare the Fabric:
Place your chosen fabric into the machine’s hoop, ensuring it is stretched tightly to avoid distortion during stitching. - Set Up the Machine:
Thread the embroidery machine with the appropriate thread colors and load your design into the machine’s software. - Start the Machine:
Once everything is set, start the machine and let it stitch your design onto the fabric. This process is highly precise, so you can work on another project while the machine does the work. - Trim the Patch:
After the design is finished, carefully remove the fabric from the hoop and trim around the edges of the patch. - Add Backing:
Attach either iron-on or sew-on backing to the patch. This will allow you to easily attach the patch to your clothes or accessories.
Machine embroidery is ideal for those who need a quick, precise, and consistent result, particularly when producing large quantities of patches.
2. How to Make Embroidered Patches by Hand
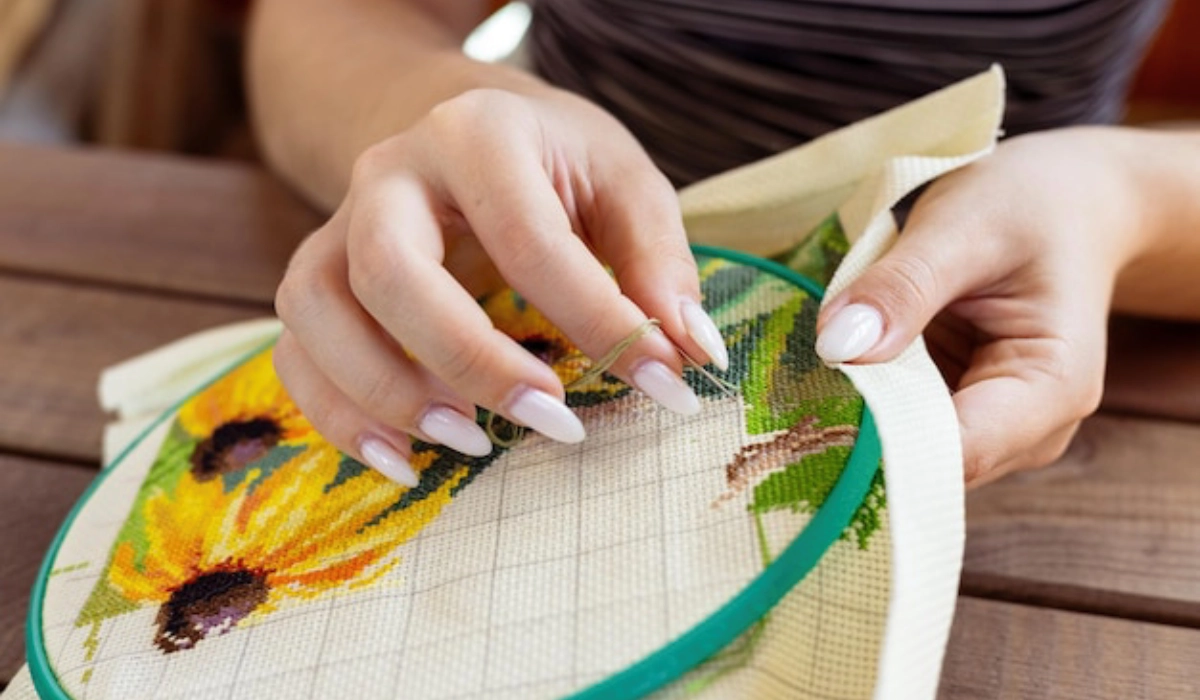
For those who appreciate the personal touch and artistry of handcrafted work, learning how to make embroidered patches by hand is an enjoyable and rewarding method. Here’s how to do it:
Materials You’ll Need:
- Embroidery thread (choose your favorite colors)
- Embroidery needle
- Fabric (felt, canvas, or another sturdy material)
- Embroidery hoop
- Scissors
- Heat transfer paper (optional, for design transfer)
- Iron-on or sew-on backing
Steps to Follow:
- Prepare Your Fabric:
Cut your fabric into the desired shape for your patch. Place it in the embroidery hoop and tighten it so the fabric remains taut while you work. - Transfer Your Design:
You can either draw your design directly onto the fabric using a fabric marker or pencil, or use heat transfer paper to transfer a design from a printed sheet. - Begin Stitching:
Now comes the fun part! Start embroidering your design using embroidery floss. Some common stitches for patches include:- Backstitch for outlines
- Satin stitch to fill in areas
- French knots for small details (such as eyes or flower centers)
- Cut Out Your Patch:
Once your stitching is complete, carefully cut around the embroidered design, leaving a small fabric border. - Add Backing:
Attach iron-on or sew-on backing to the patch. This makes it easy to apply to your garments or bags.
Handmade patches offer a unique, textured aesthetic that’s perfect for those who love the creative process. It’s an ideal method if you want to add a personal flair to every project. Learning how to make embroidered patches by hand allows you to get truly creative and enjoy a tactile, artistic experience.
3. How to Make Iron-On Embroidered Patches
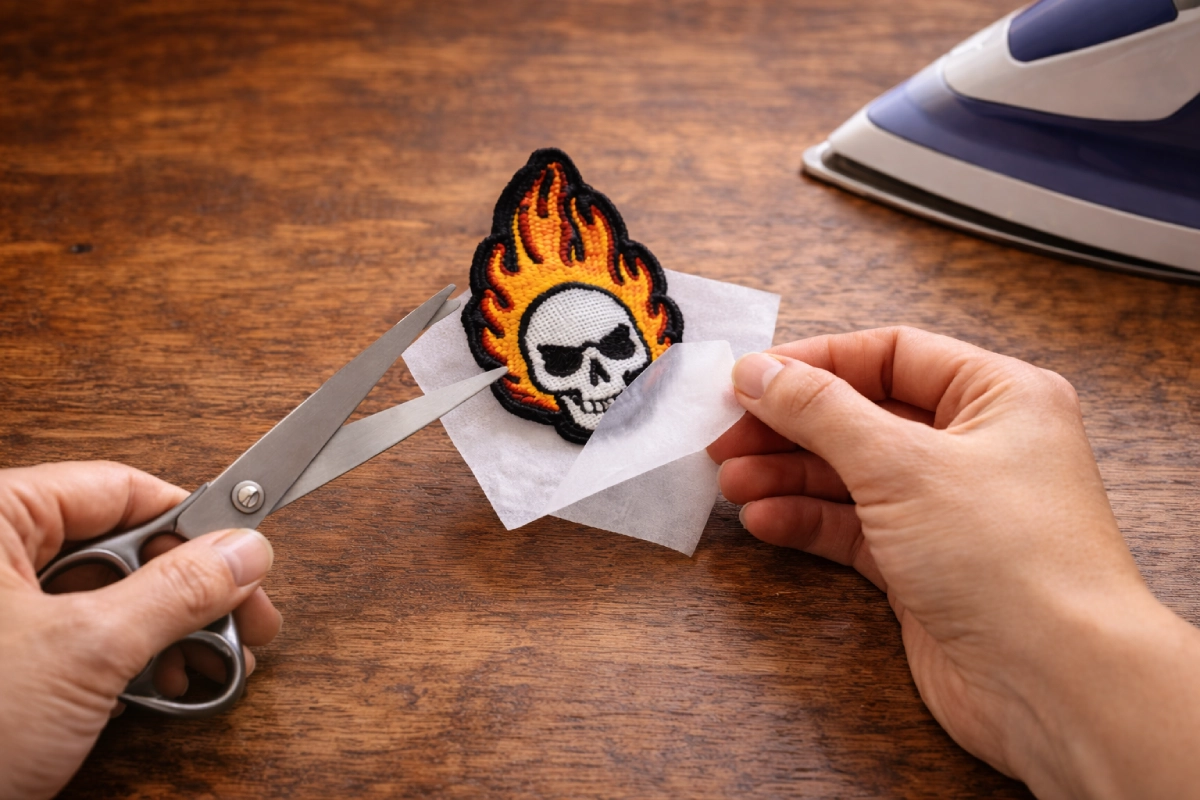
Iron-on embroidered patches are perfect for those who want quick, hassle-free application, especially for beginners or anyone looking for a simple yet durable solution. Here’s a step-by-step guide on how to make iron-on embroidered patches:
Materials You’ll Need:
- Embroidery thread
- Fabric (such as felt, canvas, or any fabric you prefer)
- Iron-on backing (adhesive backing)
- Embroidery needle
- Embroidery hoop
- Scissors
Steps to Follow:
- Create Your Patch Design:
Whether you’re using an embroidery machine or hand stitching, start by creating your patch design. Once your design is stitched, you’ll be ready to apply the iron-on backing. - Apply the Iron-On Backing:
Cut a piece of iron-on backing slightly larger than your patch. Place it on the back of your patch and use a hot iron to fuse the adhesive to the fabric. Be sure to follow the manufacturer’s instructions for the best results and to avoid damaging the fabric or adhesive. - Trim the Patch:
After the backing is applied, trim around the embroidered design, leaving a small border to prevent fraying. - Iron the Patch onto Your Item:
Place the patch on your desired item—whether it’s a jacket, backpack, or shirt. Use the iron to press down firmly for about 30 seconds to ensure the patch adheres securely.
Iron-on patches are perfect for quick customization and make it easy to apply patches to almost any fabric. They’re especially great for adding a professional-looking finish with minimal effort.